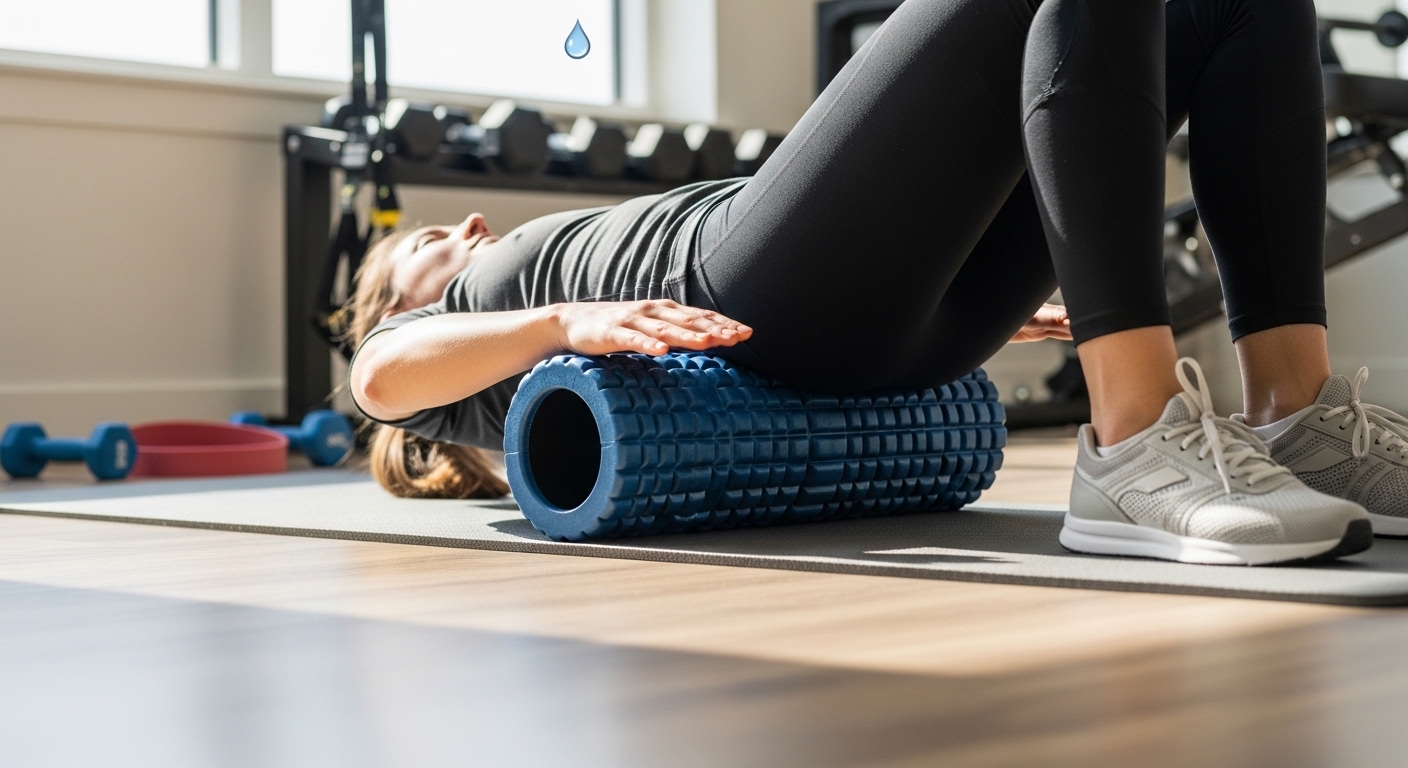
Foam rolling works best when it’s not a pain contest. The goal is to reduce stiffness, improve how you move, and feel better the next day—not to grind your muscles until you’re bruised. Once you get the timing and pressure right, a short 10-minute routine can make your legs and back feel noticeably looser.
What foam rolling actually does (realistic expectations)
Foam rolling won’t “delete” soreness instantly, but it can:
- temporarily improve range of motion
- reduce the feeling of tightness
- help you relax and move more smoothly
- make light recovery sessions (walks, mobility) feel better
Think of it like a reset for your nervous system + tissue sensitivity, not a repair tool.
Best timing: when to foam roll
1) Before a workout (2–5 minutes)
Goal: wake up tissue + improve movement, not smash knots.
- Keep it light to moderate
- Focus on areas that feel stiff (quads, calves, upper back)
- Follow with dynamic movement (bodyweight squats, lunges, arm circles)
2) After a workout (5–10 minutes)
Goal: downshift and reduce tightness.
- Moderate pressure
- Slow passes, short holds
- Pair with breathing (exhale into tight spots)
3) On rest days (10 minutes)
Goal: reduce stiffness and support recovery.
This is where foam rolling shines—especially if you sit a lot.
My personal favorite time: evening rolling on rest days. It’s easier to relax into it, and I sleep better when my legs feel “unlocked.”
Pressure guide (this is where most people mess up)
Use a simple 0–10 discomfort scale:
- 0–3/10: warm-up pressure (pre-workout)
- 4–6/10: sweet spot for recovery (most sessions)
- 7+/10: usually too much (tensing up = less benefit)
The “breath test”
If you can’t breathe slowly through your nose or you’re holding your breath, the pressure is too high. Reduce pressure by:
- shifting more weight to your hands/other leg
- rolling a smaller range
- switching to a softer area of the muscle (not right on the most painful point)
How long to roll (and how fast)
Speed
Go slow: about 1 inch (2–3 cm) per second.
Time per muscle group
- 30–60 seconds per area is plenty
- For tender spots, hold 15–25 seconds, then move on
More time isn’t always better—too much can leave you more sensitive.
What a “good session” feels like
- you feel looser and warmer
- movement feels easier
- soreness doesn’t spike afterward
Where NOT to foam roll (important)
Avoid direct pressure on:
- lower back (lumbar spine area)
- joints (knees, ankles, elbows)
- bones (hip bone, spine)
- any area with sharp pain, numbness, tingling, or swelling
Upper back is usually fine; lower back is where people get into trouble.
Technique basics: how to roll correctly
1) Don’t chase pain—chase tightness
Rolling the most painful spot aggressively is how people bruise themselves. Instead:
- find the tight band of muscle
- roll around it
- use short holds with breathing
2) Small ranges beat huge sweeps
Instead of rolling your entire leg top-to-bottom, work in 6–12 inch zones.
3) Keep your core lightly braced
Especially on upper back work. A little brace keeps you stable and prevents weird arching.
4) Use your hands and feet to control pressure
You’re not stuck with “full bodyweight.” Adjust constantly.
The 10-minute foam rolling routine (Legs + Back)
This is my go-to when legs feel heavy or your back feels stiff from sitting.
0:00–1:30 — Calves (1 min 30 sec)
- 45 sec each side
How: cross the other leg on top to increase pressure only if needed.
Focus: slow rolls from mid-calf to just below knee (avoid the back of knee).
1:30–3:30 — Quads (2 min)
- 60 sec each side
How: roll from mid-thigh to just above knee.
Tip: turn slightly inward/outward to find different quad fibers, but don’t roll onto the kneecap.
3:30–5:30 — Hamstrings (2 min)
- 60 sec each side
How: roll from mid-hamstring to just above the back of knee.
Tip: keep toes relaxed; if you’re cramping, reduce pressure.
5:30–7:30 — Glutes (2 min)
- 60 sec each side
How: sit on the roller, lean slightly to one side.
Tip: small movements. If you find a tender spot, pause 15–20 sec and breathe.
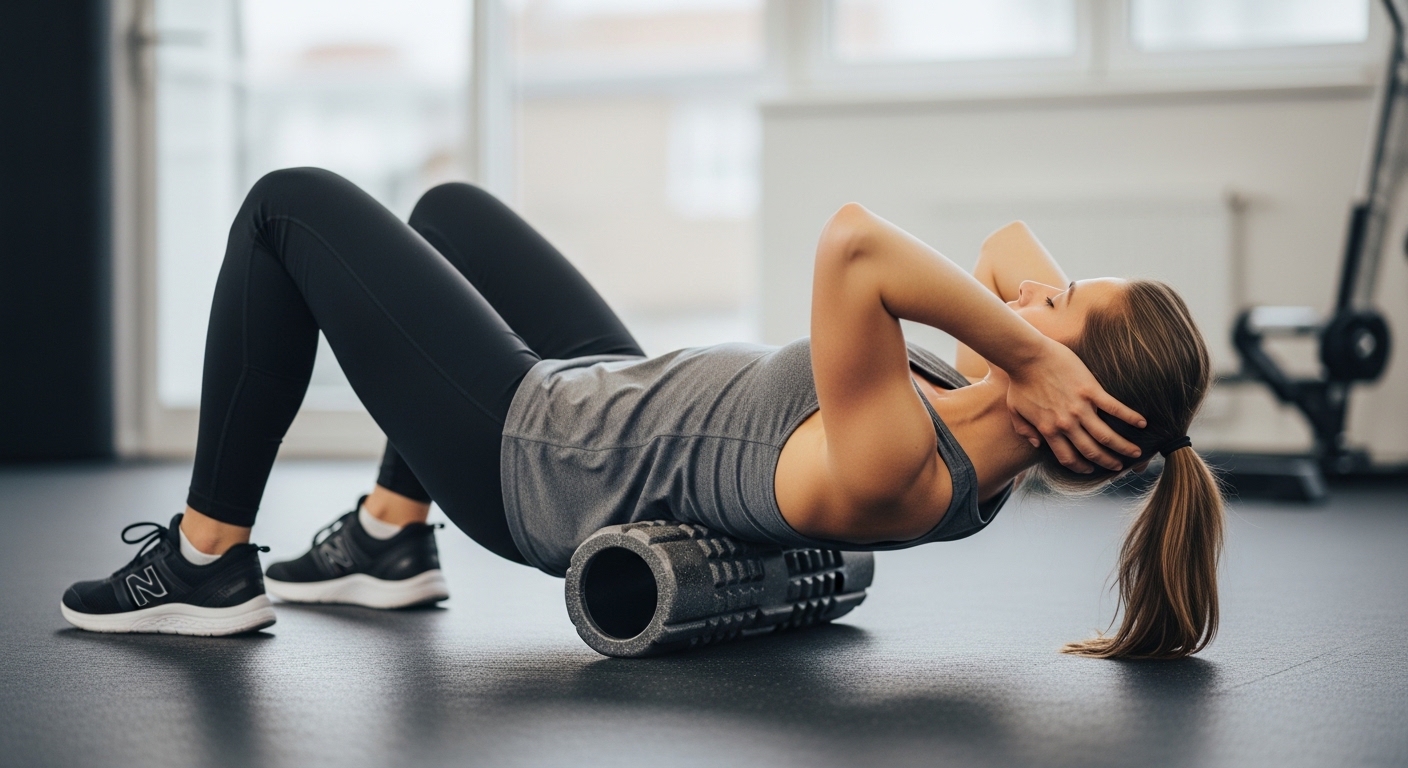
7:30–10:00 — Upper back (2 min 30 sec)
- 2–3 slow passes
How: place the roller under upper back (below shoulder blades), hands supporting head, ribs down.
Tip: move slowly up and down upper back. Avoid rolling into your lower back.
Optional 30-second finisher: lie on your back and take 5 slow breaths, exhale long. Your body “accepts” the reset.
Common mistakes (and quick fixes)
Mistake 1: Rolling too fast
Fix: slow down by half. You’ll feel more with less effort.
Mistake 2: Going too hard
Fix: use 4–6/10 pressure and keep breathing.
Mistake 3: Rolling the same painful spot forever
Fix: hold 15–25 sec, then move to a nearby area.
Mistake 4: Rolling your lower back
Fix: switch to upper back rolling + glute rolling + gentle hip mobility.
Mistake 5: Expecting foam rolling to replace recovery basics
Fix: pair it with sleep, hydration, light movement, and smart training volume.
How often should you foam roll?
A realistic schedule that works:
- 3–5x/week for 5–10 minutes
or - daily for 2–5 minutes (micro-sessions)
Consistency beats marathon sessions.
Final takeaway
Foam rolling works best when you:
- do it at the right time (pre/post/rest day)
- keep pressure moderate (4–6/10)
- roll slow and controlled
- avoid lower back and joints
- follow a simple 10-minute legs + back routine